Vision Board Supplies List: Create a Dream Board Today!
Creating a dream board is so much fun—and can be addictive — because the possibilities are endless!
You don’t have to be an artist to create a beautiful and inspiring vision board —just a wide assortment of vision board supplies, a little bit of free time, and your dreams, of course!
This list of vision board supplies has everything you could ever need—from the base foundation and cutting tools to adhesives, creative embellishments, and much more.
Whether you’re creating your very first vision board or organizing a fun vision board party, these supplies will help you get started on making the vision board of your dreams (pun intended!).
I’ve broken down all the vision board supplies by category, with tips for beginners and experienced crafters alike!
This post may contain affiliate links. Click to visit policies and disclosures
What is a Vision Board? A Powerful Goal-Setting Tool
Before we dive into all the wonderful vision board supplies you’ll need, let me share what a vision board actually is – and why I’m so passionate about them!
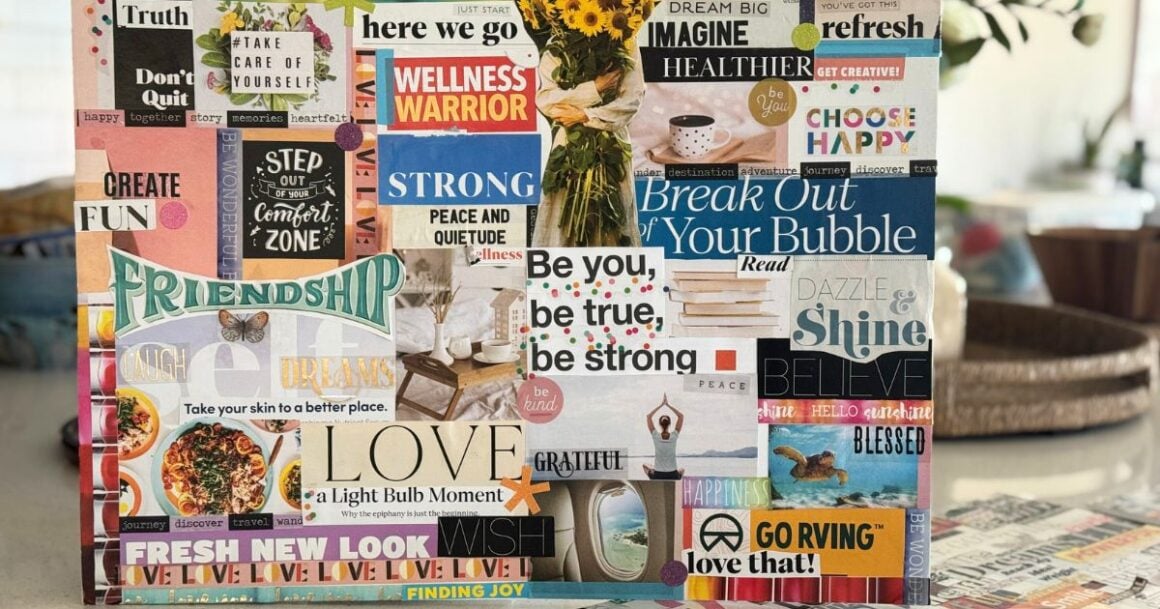
A vision board (also called a dream board, goal board, action board, or vision map) is a visual collage of images, words, quotes, and affirmations that represent your goals, dreams, and aspirations.
Think of it as a creative roadmap to your ideal future – a tangible, inspiring reminder of what you’re working toward in life.
According to Psychology Today, while we don’t fully understand all the precise benefits of vision boards, research shows that the very act of setting goals is better than not setting goals, making vision boards a useful tool for many people.
The practice can help us imagine what a positive future could look like, which is a helpful way to increase positive emotions and optimism.
A New Year’s Tradition: We Make Vision Boards!
Last New Year’s Eve, we started what’s become our new tradition – creating vision boards together to ring in the year!
Instead of just watching the ball drop, we spent the evening with poster boards, magazines, and glitter spread across the dining room table, talking about our dreams and goals for the coming year.
There was something so special about that time together, sharing aspirations and encouraging each other as we built our boards. A year later, I still walk past my vision board in my office and feel that same excitement and motivation.
That’s the real magic of vision boards – they’re not just about the finished product, but the intentional time you spend clarifying what matters to you and the daily reminder that keeps your dreams front and center.
Essential Vision Board Supplies: The Must-Haves
Let’s start with the basics – these are the foundation vision board supplies you absolutely need to create your vision board. Think of these as the “non-negotiables” that every vision board maker should have. 🙂
1. Your Base or Foundation for Your Vision Board
This is where your vision board comes to life, so choosing the right surface is important!
Foam Core Board (My Personal Favorite)
This is thicker and more durable than regular poster board. It’s great if you’re creating a vision board that you want to last for several years or if you’re planning to move it around frequently.
Poster Board
This is my go-to for most vision boards! Poster board is affordable, easy to find at any craft store, and comes in tons of colors.
I usually grab white or a light color so my images really pop. A standard 22″ x 28″ size gives you plenty of room to work with.
Cork Board or Bulletin Board
Love the idea of being able to rearrange things? A cork board is perfect! You can use push pins to attach images, making it super easy to update your vision board throughout the year as your goals evolve.
Canvas
If you want something a bit more elevated (and wall-ready!), canvas boards are fantastic. They’re sturdier than poster board and have a more polished, finished look. I’ve used 16″ x 20″ canvases for bedroom vision boards, and they look beautiful!
Cardboard or Recycled Materials
On a budget or feeling eco-friendly? Large pieces of cardboard from moving boxes work beautifully! I’ve created some of my favorite vision boards on repurposed materials.

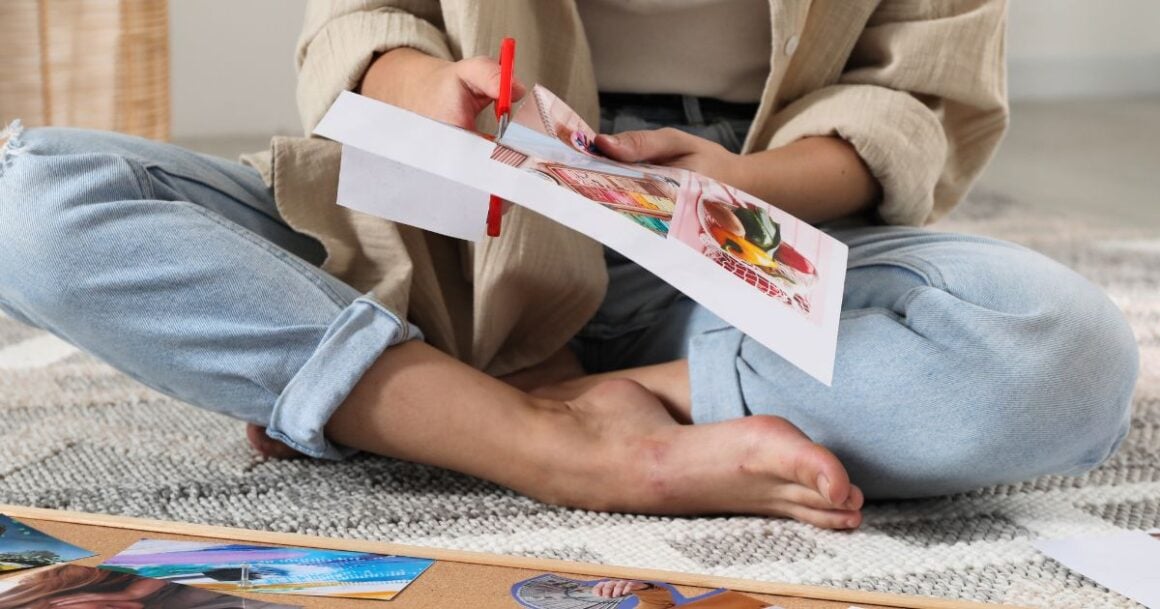
2. Cutting Tools
You’ll be doing lots of cutting, so having the right tools makes all the difference!
Good Quality Scissors – Invest in a decent pair of crafting scissors. I can’t stress this enough! Those cheap scissors from the junk drawer just won’t cut it (pun intended!). Look for sharp, comfortable scissors that can handle magazine pages and photo paper.
Precision Scissors – These smaller, detail-oriented scissors are perfect for cutting around intricate images or getting into tight corners. I use mine constantly when I want to cut out specific words or detailed photos.
Paper Trimmer – This isn’t absolutely essential, but if you’re creating multiple vision boards or want super clean, straight edges, a paper trimmer is a game-changer. It’s especially helpful if you’re printing images from your computer.
Craft Knife or X-Acto Knife – For those really precise cuts or if you’re working with thicker materials, a craft knife is incredibly useful. Just remember to use a cutting mat underneath to protect your surface!
3. Adhesives: The Right Glue for Your Dream Board
Trust me, you don’t want your carefully placed images falling off your vision board! Here are the best adhesive options:
Glue Sticks – My personal favorite! They’re clean, easy to use, and perfect for paper. I love that they don’t wrinkle thin magazine pages like liquid glue sometimes can. Keep a few on hand because they run out faster than you think!
Glue Dots – These are absolute lifesavers for 3D items or heavier embellishments! They’re small, adhesive circles that provide strong hold without the mess of liquid glue.
Double-Sided Tape – Perfect if you like precision and no mess. It’s especially good for attaching ribbons, fabric swatches, or other flat materials.
Mounting Squares or Foam Adhesive – These add dimension to your board! They lift elements slightly, creating a layered, 3D effect that looks super professional.
Mod Podge – If you want to seal everything and give your vision board a finished, protective coating, Mod Podge is your friend! It acts as both glue and sealant.
4. Images and Visual Content for Your Dream Board
This is where the magic happens – gathering images that represent your goals and dreams!
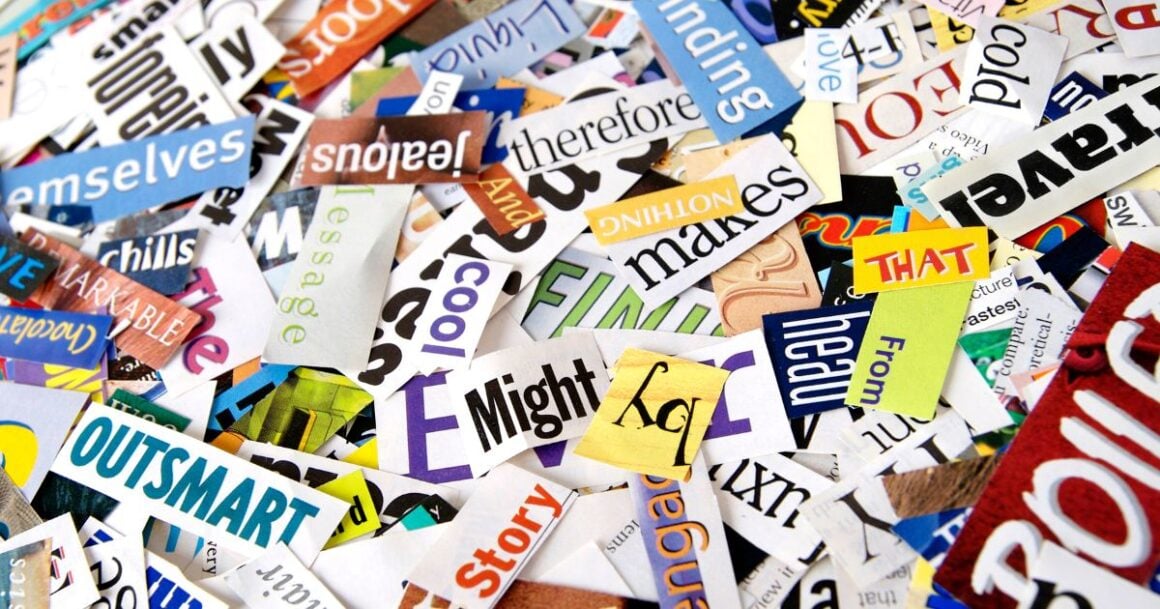
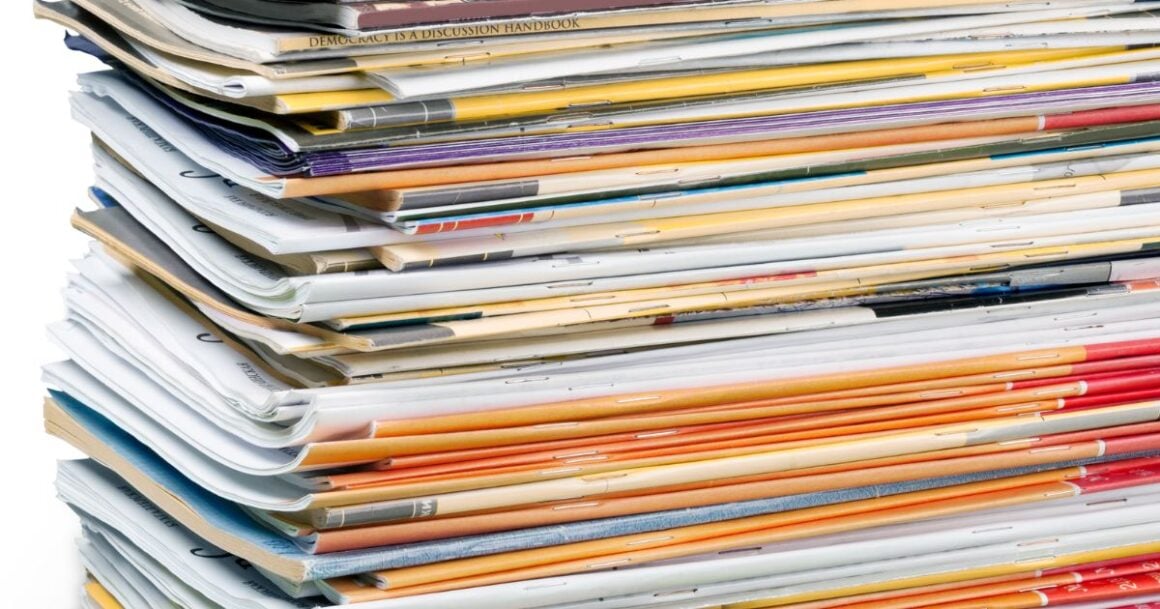
Magazines – The classic choice! I have a whole stack of magazines I’ve collected from various sources.
Fashion magazines, home décor magazines, travel magazines, health and fitness publications – they’re all goldmines for vision board images.
Pro tip: Ask friends and family for their old magazines before they toss them!
Personal Photographs – Adding your own photos makes your vision board extra personal and meaningful.
Printed Images from the Internet – This is where you can get really specific! Can’t find the exact tropical beach destination in a magazine? Print it from the internet!
Brochures and Pamphlets – Don’t overlook these! Travel brochures, real estate flyers, and event programs can have beautiful imagery.
Old Greeting Cards or Postcards – These often have gorgeous images and inspirational messages that are perfect for vision boards.

Creative Embellishments: Taking Your Vision Board to the Next Level
Okay, this is where I get really excited! These supplies aren’t absolutely necessary, but they make your vision board so much more fun, beautiful, and uniquely yours.
Stickers for Your Vision Board
Oh my goodness, where do I even start? I’m a total sticker addict! Stickers are an easy way to add personality, fill empty spaces, and reinforce your vision board’s theme.
Motivational Stickers – Words like “DREAM,” “BELIEVE,” “COURAGE,” and “JOY” add powerful affirmations to your board.
Themed Stickers – Travel stickers for adventure goals, heart stickers for relationship boards, money and success stickers for financial goals – you get the idea!
Decorative Stickers – Florals, stars, geometric shapes, and borders can tie your whole board together visually.
Alphabet Stickers – Perfect for spelling out specific goals or creating custom headlines on your vision board.
Washi Tape
If you haven’t discovered washi tape yet, prepare to fall in love! This decorative masking tape comes in endless colors, patterns, and widths and can be used in many, many creative ways!
- Frame important images or quotes
- Create borders around sections of my vision board
- Add colorful accents and patterns
- Attach items I might want to change later (since it’s removable!)
- Create geometric designs or section dividers
Markers, Pens, and Coloring Tools
Colored Markers – For adding your own drawings, doodles, or handwritten affirmations. I love using bold colors to write power words directly on my board.
Paint Markers – These are especially great on canvas or darker surfaces. The opaque ink really stands out!
Gel Pens – Perfect for adding details, writing dates, or creating decorative borders.
Colored Pencils or Crayons – For a softer, more artistic touch. They’re also great if you have kids helping with their vision boards!
Metallic Markers – Add a touch of shimmer and elegance! Gold and silver metallic markers make certain elements really stand out.

Sparkle and Shine
Here’s where I go a little over the top – but hey, glitter makes me happy! 🙂
Glitter – A little sprinkle of glitter can highlight important goals or add celebratory vibes. Just be prepared for it to get everywhere! (Totally worth it, though.)
Rhinestones or Gem Stickers – These add gorgeous bling to your vision board. I use them to highlight especially important goals or create visual interest.
Metallic Confetti – Sprinkle these around your board for a festive, celebratory feel.
Dimensional and Textural Elements for Vision Boards
Ribbon – Great for creating borders, tying sections together, or adding texture.
Fabric Swatches – Especially perfect for home décor or fashion-focused vision boards. The tactile element makes these goals feel more real!
Buttons – These add a cute, crafty touch and work especially well on home or hobby-themed boards.
Feathers – For a boho vibe or nature-inspired vision boards.
Sequins – Similar to rhinestones but with a different look – they catch the light beautifully!
Organizational and Writing Supplies for Vision Board
Don’t forget about these helpful supplies that make the creation process smoother:
Printed Quotes and Affirmations – You can find tons of free printable quotes online, or check out my 100+ Vision Board Quotes article for inspiration!
Index Cards or Cardstock – Perfect for writing your own affirmations or goals in your handwriting.
Page Protectors or Sheet Protectors – If you’re creating a vision board in a binder format, these are essential.
Envelopes or Storage Bags – To organize and store extra images, cutouts, and embellishments while you’re working.
Sticky Notes – Great for temporarily placing images while you figure out your layout before committing to gluing.
Budget-Friendly Vision Board Supplies
Look, I know crafting supplies can add up! Here are some ways to create an amazing vision board without breaking the bank:
- Free Magazine Sources – Check with your local library, doctor’s offices, hair salons, or ask friends and neighbors for their old magazines.
- Dollar Store Finds – Dollar stores have surprisingly goI stock up on basics here all the time!
- Use What You Have – Before buying anything new, shop your own home! Old calendars, catalogs, junk mail, wrapping paper scraps, and kids’ art supplies can all be repurposed.
- Digital Printing at Home – Instead of buying photo paper, regular printer paper works fine for most vision board images.
- Natural Embellishments – Pressed flowers, leaves, or twigs can add beautiful, organic touches for free!
- Newspaper or Brown Paper Bags – These can create interesting textured backgrounds or vintage-looking elements.
Different Types of Vision Board Supplies
Depending on what kind of vision board you’re creating, you might want some specialized supplies:
For Digital Vision Boards
- Design Software or Apps – Canva, PicMonkey, or even PowerPoint work great!
- Tablet or Stylus – If you want to draw or handwrite on your digital board.
- High-Quality Display – Whether you’re using it as your phone wallpaper or desktop background.
For Vision Board Journals
- Journal or Scrapbook – A bound book specifically for your vision journaling practice.
- Mini Glue Dots or Tape Runner – Easier to work with in smaller journal spaces.
- Smaller Scale Embellishments – Mini stickers, narrow washi tape, tiny stamps.
Vision Boards Supplies for Parties
- Extra Supplies of Everything – Trust me, everyone runs out at different times!
- Brown Craft Paper – To cover tables and work surfaces.
- Paper Plates or Trays – For organizing shared supplies.
- Wet Wipes – For inevitable glue fingers!
- Plastic Storage Bins – To organize and transport all the supplies.
Vision Board Supply Kits: Are They Worth It?
There are lots of pre-made vision board kits available online, and they can be wonderful, especially if you’re:
- New to vision board making and feel overwhelmed
- Short on time and want everything in one place
- Gifting a vision board experience to someone
- Want curated, coordinated supplies with a specific theme
However, kits tend to be more expensive than buying supplies individually, and you might not use everything included.
I personally love gathering my own supplies because I can customize them to my exact vision and style.
Tips for Organizing Your Vision Board Supplies
Once you start collecting your vision board supplies, organization becomes key!
- Clear Storage Containers – Seeing what you have helps spark creativity
- Label Everything – Especially if you have multiple containers or drawers.
- Vertical Magazine Storage – Magazine holders or file folders work great
- Small Compartment Organizers – Perfect for stickers, washi tape, and embellishments.
- Portable Caddy – Keep your most-used supplies in a caddy that you can easily carry to your workspace.
How to Use Your Dream Board Supplies
Now that you have all these amazing supplies, here’s my simple process for using them:
1. Gather Everything – Spread out all your supplies before starting. There’s nothing worse than having to stop mid-flow to search for scissors!
2. Sort Your Images – Before gluing anything, lay out your favorite images and arrange them on your board. This helps you see the big picture and adjust placement.
3. Start with Focal Points – Place your largest or most important images first, then work around them with smaller elements.
4. Layer and Embellish – Add your decorative elements, quotes, stickers, and washi tape to fill spaces and enhance your design.
5. Add Personal Touches – Handwrite affirmations, draw doodles, or add that special touch that makes the board uniquely yours.
6. Seal (Optional) – If you want to protect your finished board, apply a thin layer of Mod Podge over everything once the glue is dry.
Related Articles
- Vision Board Ideas for New Years
- 100+ Inspiring Vision Board Quotes
- The Self-Care Alphabet
- How to Unlock Creative Flow
- Hobbies for Women Over 50
- Creative Art Hobbies for Women
- Hobbies That Keep Your Mind Sharp
- Great Hobbies for Men Over 60+
- How to Overcome a Creative Block
- 5-Minute Self-Care Ideas for the New Year
FAQs: Dream and Vision Board Supplies
What are the most essential vision board supplies?
The absolute essentials are a base (poster board or foam core board), scissors, glue or adhesive, and images (from magazines, printed photos, or personal pictures). Everything else is a bonus!
Can I create a vision board without buying any supplies?
Absolutely! You can use cardboard from boxes, free magazines from libraries or waiting rooms, glue from your junk drawer, and kitchen scissors.
A vision board can be made with completely free supplies if you get creative!
What’s the best adhesive for vision boards?
I personally love glue sticks for a vision board! They’re clean, easy to use, and work great on paper. For heavier embellishments or 3D items, glue dots, double-sided tape, or liquid glue work better.
Should I buy a vision board kit or individual supplies?
It depends on your preferences! Kits are convenient and great for beginners, but buying supplies individually is usually more cost-effective and lets you customize exactly what you want.
Where can I get free magazines for my vision board?
Check your local library, doctor’s offices, hair salons, gyms, or ask friends and neighbors for their old magazines. Many businesses recycle them and are happy to give them away!
Do I need special paper to print images for my vision board?
Not at all! Regular printer paper works perfectly fine! If you want higher quality prints, photo paper is nice but not necessary. Your vision board will look great either way.
Related Articles: Inspiring New Year Vision Board Ideas + 100+ Vision Board Quotes
Final Thoughts: The Best Supplies for Vision Boards
The perfect vision board isn’t about having the most expensive supplies. It’s about making something that genuinely inspires you and keeps your dreams at the heart of your daily life.
Some of my favorite vision boards were made with the simplest supplies – poster board, magazine cutouts, and a glue stick.
The magic isn’t in the materials; it’s in the intention you put into creating your board and the goals it represents.
Start with the basics, and add embellishments as you go. Let your vision board evolve along with your dreams. Most importantly, have fun with the process!
Your vision board is a personal roadmap to your best life, and now you have everything you need to create it. I can’t wait for you to get started!
XO, Christine

I’ve been keeping it real since 1963. 😊
I’m a child of God, devoted wife, proud mama and grandma, full-time creative, domestic engineer, and passionate self-care enthusiast.
I’m purpose-driven and do my best to live each day with intention—whether shopping for treasures, painting in my art studio, digging in the garden, or cooking up something yummy for my family.
I’m always up for a good chat and love collaborating with fellow creatives and brands.
Let’s connect—don’t be shy!