How to Paint Rocks With Acrylic Paint in 5-Easy Steps!
Looking for a fun, creative, and budget-friendly craft for all ages? Welcome How to Paint Rocks with Acrylic Paint in 5-Easy Steps!
This simple DIY project is the perfect way to get creative, whether you’re crafting with kids, looking for a relaxing solo hobby, or making Kindness Rocks to spread joy in your community.
Our family has been painting rocks forever and a day! We started our camping trip near a river, where we found the most beautiful smooth river rocks. Luckily, I had my craft bin full of paints, so we started painting—and we’ve been hooked ever since!
It’s one of the easiest acrylic paint crafts you can do. In this step-by-step guide, I’ll show you exactly how to paint rocks using both acrylic paint and paint pens, what rock painting supplies you really need, and the crucial final step: how to seal your painted rocks so they last forever.
This post may contain affiliate links. Click to visit policies and disclosures
Painting Rocks has Become Trendy.
Because of The Kindness Rocks Project, rock painting has become trendy! The Kindness Rocks project is so inspiring!
Using our creativity can change lives!
The Kindness Rocks Project?
The Kindness Rocks Project is a trend where people, commonly children, paint rocks of all shapes and sizes, leaving them in public places for others to find and collect.
The trend originated in the U.S. and has spread to the U.K., Australia, New Zealand, and other countries.
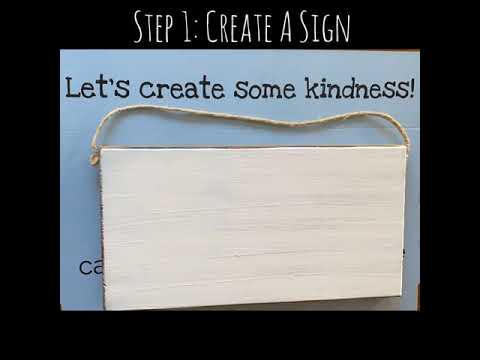
Here’s a video on how to plant a kindness inspiration garden. You can join The Kindness Rock project here.
How to Paint Rocks with Acrylic Paint + Acrylic Paint Pens.
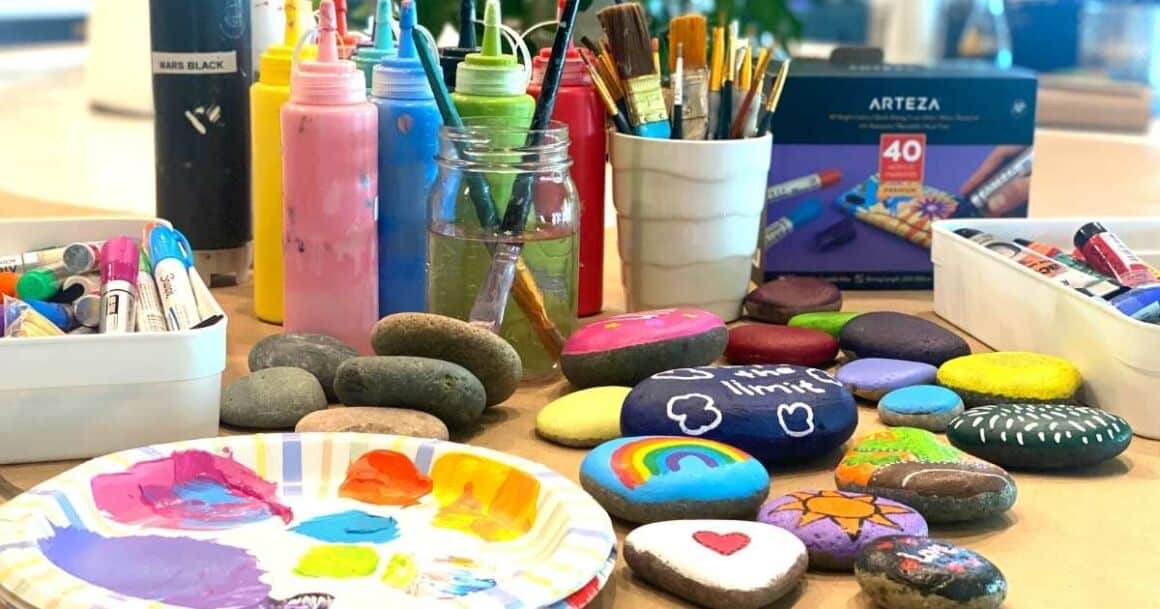
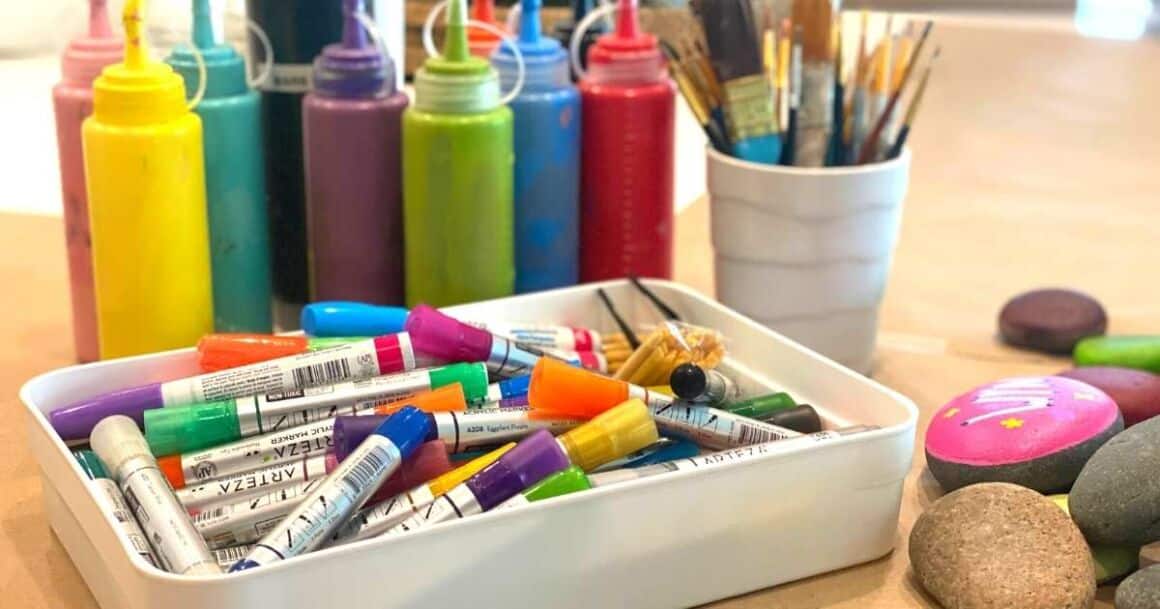
Rock Painting Supplies:
The Best Rock Painting Supplies:
- Rocks!-Make sure you have the right rocks on hand! (see below)
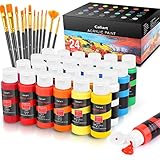
- Acrylic paints– Gather acrylic paints in lots of bright colors!
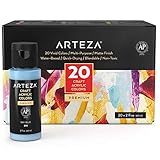
- Acrylic paint pens-Acrylic paint pens are my favorite tool for painting rocks!
- Bling + glue-It’s fun to embellish painted rocks for an extra flair!
- Paint Brushes, q-tips, pencils, and white gel pen (for small details)
- Paper Plates– I like to use paper plates for paint palettes.
- Paper Towels-For messes and clean-up.
- Jar of water-Use to rinse brush water.
- Old newspapers or brown craft paper– to cover the work surface.
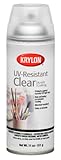
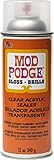
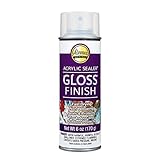
- Spray Sealer or Mod Podge to seal painted stones.

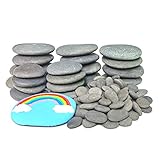
The Best Rocks for Rock Painting
The absolute best rocks for painting are flat, smooth rocks.
The first thing to look for in a suitable rock painting is texture. The most important thing is that the rock is smooth vs. rough, deeply pitted, or chalky.
Avoid buying rocks with a wax film over them to make them shiny. This makes it difficult for paint or markers to adhere to the rock.
Flat(ish) rocks are best, but honestly, you can paint any shape rock you please!
Where to Find Painting Rocks:
You can find good painting rocks everywhere! Just walk in your neighborhood or at a nearby park and keep your eyes peeled for painting rocks.
But if you have difficulty finding nice smooth painting rocks, you can always purchase painting rocks online, at your local craft store, or your nearest landscaping business.
(Landscaping companies sell river rocks by the pound. 🙂

The Best Paint for Rock Painting
The best paint for rock painting is acrylic paint. Acrylic paint is the safest and best for rock painting.
Acrylic paint is the best choice because it’s water-soluble, which means easy water and soap clean-up and no fumes.
Acrylic paint is strong, and once sealed properly, acrylic paint will hold up for years and years on your painted rocks.
I have rocks in my garden that were painted over 20 years ago!
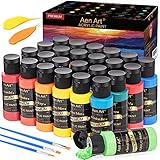
The Best Acrylic Paints + Acrylic Markers for Painting Stones
Many acrylic paints are on the market today, but not all are good quality.
I would recommend all-purpose craft paint that is in the middle of the road price-wise.
You don’t want to go with the least expensive, and you sure don’t need to go with the most costly acrylic paint when painting rocks.
I recommend any of these four brands of acrylic paints for painting rocks.

Easy Rock Painting Ideas:
- Paint a butterfly, ladybug, or cute little bubble bees
- Flowers, trees, cacti, and plants of all kinds!
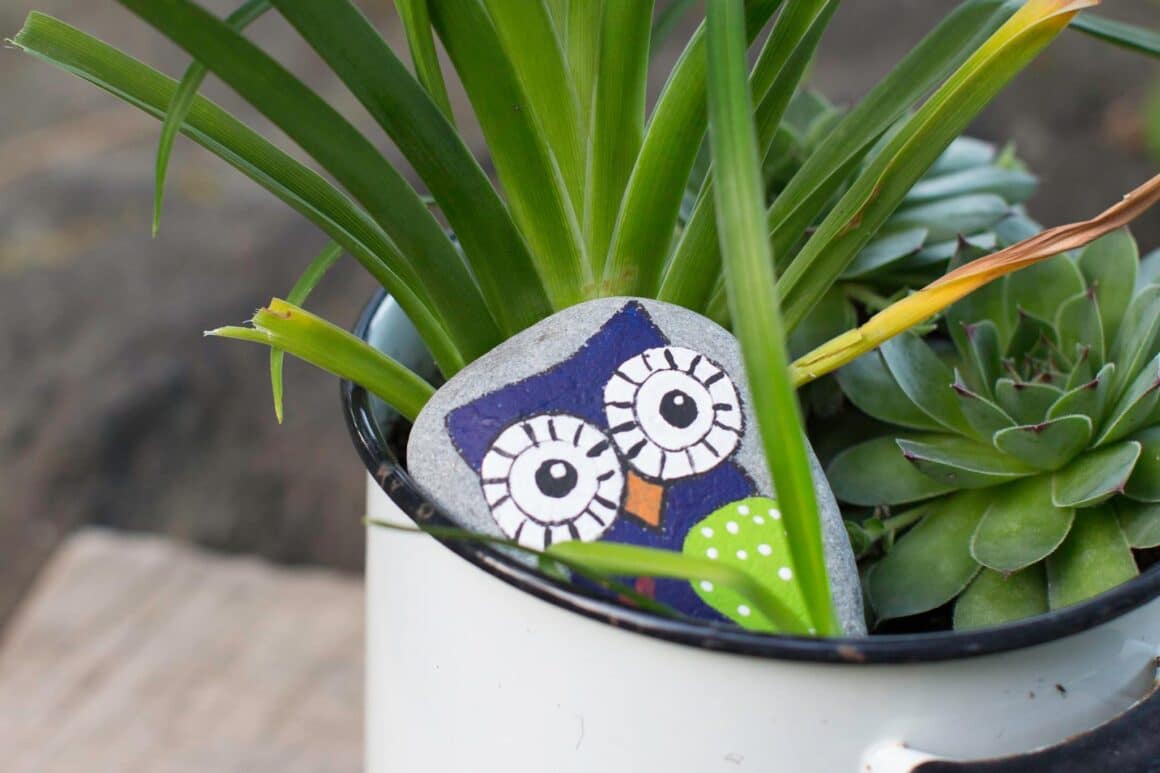
- Cute animals like owls, bunnies, puppies, and cats
- Paint positive words: DREAM, PEACE, and LOVE
- Create kindness rocks! Think of encouraging statements like: Stay strong, You’re doing great, I believe in you! Etc.
- Hearts, rainbows, and unicorns!
- Peace signs, crosses, and smiley faces
- Paint the sun, clouds, and rainbows!
- Paint a Mandala rock! Here’s how!
Check out my Rock painting Pinterest Board for more design ideas and Inspiration!
How to Paint Rocks with Acrylic Paint: A Step-by-Step Guide:
1. Wash Painting Rocks.
It’s a good idea to give your painting rocks a good scrub to ensure the rock’s surface is free from any oils that may interfere with the paint adhering properly to the rock.
I suggest washing your rocks like you would potatoes. Then, use a vegetable brush and warm water and scrub your rocks.
Let the painting rocks dry thoroughly.
2. Gather Rock Painting Supplies, Set up Work Space.
Before you start painting rocks, getting everything set up and organized is a good idea.
Organize paints by color and put paint markers and brushes in a coffee cup or jar for easy access.
Lay old newspapers or brown craft paper on your painting service and fill up your water jar (for rinsing paintbrushes).
You will have to change the paintbrush water often.
Use a paper plate to paint your rocks on. (write your name on your plate if you are painting with friends, so rocks don’t get mixed up)
3. Paint Your Rocks + Rock Painting Tips
Now that you are all set up, it’s time to paint your rocks!
The Painting Process:
- First, it’s a good idea to paint the rock a solid color as a base color for your design.
A nice base coat of acrylic paint will give you the perfect foundation for your design. It may take a few layers of paint to completely cover the stone. Let dry. - Next, start painting your design using paint and a fine-tip paintbrush or paint pens. If you want to use a pencil first, that’s fine.
- Once you’ve painted your design and let it dry, you can start adding the finer details of the design.
- When you are happy with your rock art masterpiece, set it aside to dry and start another rock!
- After all the decorative rocks are completely dry, seal the entire rock with a spray-on-sealer or Mod Podge.
For Best results, I use two coats of sealer.
Here are a few more rock painting tips:
- Let paint completely dry in between layers. That way, your paint will be less likely to smear.
If you are unsure what color to use for your base color, I suggest using white paint or a light color such as light blue or yellow as a base.
That way, your design will have more contrast. - Let paint completely dry in between coats of paint. That way, your paint will be less likely to smear.
- If you are painting words on your rock, consider painting a base color for your design. Painting a base color before the lettering will help your design pop!
- Use the eraser on a pencil or Q-tips to make polka dots with paint if you don’t have paint pens.
4. Let Rocks Dry + Clean Up
Once you’ve finished painting your rocks, let them dry completely before sealing (See below)
While waiting for your rocks to dry, don’t forget to clean up your workspace!
The great thing about using acrylic paint to paint your rocks is that acrylic paint cleans up easily with soap and water.
Clean your brushes thoroughly and put on a paper towel to dry them.
5. Seal Your Painted Rocks
After your rocks have dried completely, it’s time to seal them to give them a beautiful finish and to protect them for years to come.
How to Seal Painted Rocks
I have found that the best way to seal painted rocks is to spray them with a clear acrylic finish. I usually spray two coats.
How to seal painted rocks with spray-on-sealer:
- Let rocks dry completely (overnight is best)
- Make sure rocks are dust-free
- Apply two coats, letting the first coat dry for at least an hour (follow instructions on the can)
- I like both gloss and satin finishes.

What to do with Painted Rocks
- Put your painted rocks in your garden
- Use painted rocks as a paperweight
- Give a painted rock as a gift!
- Leave your rock somewhere for another person to find and enjoy.
FAQ: How to Paint Rocks with Acrylic Paint
What kind of rocks are best for painting?
Smooth, flat rocks are ideal for painting. River rocks or stones with a polished surface work best because they provide a smooth canvas for your acrylic paint designs.
Do I need to prepare the rocks before painting?
Yes, cleaning the rocks thoroughly with soap and water is essential to remove dirt and debris. Once dry, apply a base coat or primer to ensure the paint adheres properly.
What type of acrylic paint should I use for painting rocks?
High-quality acrylic craft paints are the best choice for rock painting. They offer vibrant colors, good coverage, and durability for your designs.
Do I need to seal my painted rocks?
Yes, sealing your painted rocks with a clear, weatherproof sealant is crucial to protect your designs from fading, chipping, or weather damage.
Can I use painted rocks outdoors?
Absolutely! Ensure your rocks are sealed with a waterproof sealant to protect them from rain, sun, and other elements.
What tools do I need for rock painting?
As outlined above, you’ll need acrylic paint, brushes of various sizes, a palette, water for cleaning brushes, and a sealant.
Optional tools include dotting tools, sponges, or fine-tip markers for detailed designs.
Where can I find inspiration for painting rocks?
My favorite place to find inspiration is Pinterest!
Conclusion: How to Paint Rocks with Acrylic Paint
Painting rocks with acrylic paint is truly one of the most accessible and joyful rock art projects for any skill level. With just a few simple rock painting supplies, you can create beautiful, durable art to decorate your garden, give as gifts, or hide for others to find.
Don’t be afraid to experiment with easy rock painting ideas—from simple ladybugs to inspirational messages. The most important step is to have fun!
I hope this tutorial inspired you to start your own painted rock collection. I’d love to see what you create!
Until next time, remember, YOU ROCK! (get it?) LOL
XO, Christine

I’ve been keeping it real since 1963. 😊
I’m a child of God, devoted wife, proud mama and grandma, full-time creative, domestic engineer, and passionate self-care enthusiast.
I’m purpose-driven and do my best to live each day with intention—whether shopping for treasures, painting in my art studio, digging in the garden, or cooking up something yummy for my family.
I’m always up for a good chat and love collaborating with fellow creatives and brands.
Let’s connect—don’t be shy!