DIY Dermaplaning: How to Dermaplane at Home in 5 Easy Steps
In this article, DIY Dermaplaning: How to dermaplane at home, I will share everything I know about dermaplaning, including a step-by-step guide on how to dermaplane your face at home!
Maybe you’ve heard the buzz about dermaplaning, and you’re curious and want to learn what the fuss is all about.
Or, maybe you have already had dermaplaning done in a medspa and are thinking, hey, couldn’t I dermaplane my face at home?
The answer is yes! Yes, you can dermaplane your face at home, and you should!
This post may contain affiliate links. Read disclosure here
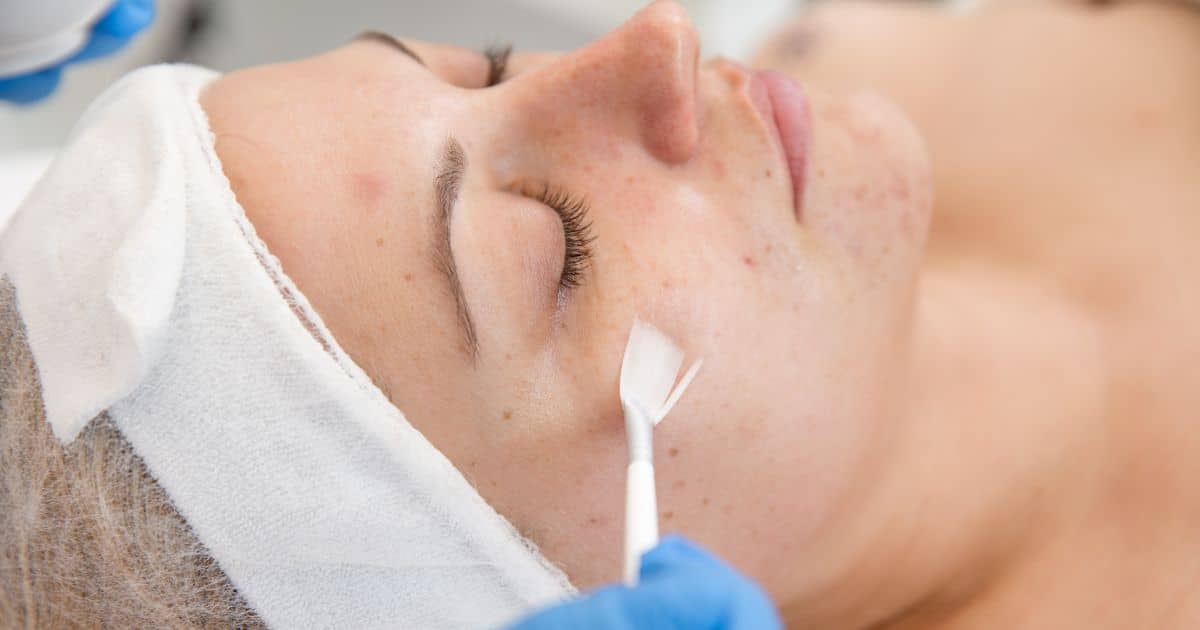
What is Dermaplane Facial?
Dermaplaning is a skin treatment that uses an exfoliating blade to skim dead skin cells and hair from your face. It’s also called micro planing or blading.
The Benefits of Dermaplaning
Exfoliation and hair removal can leave your skin brighter and smoother.
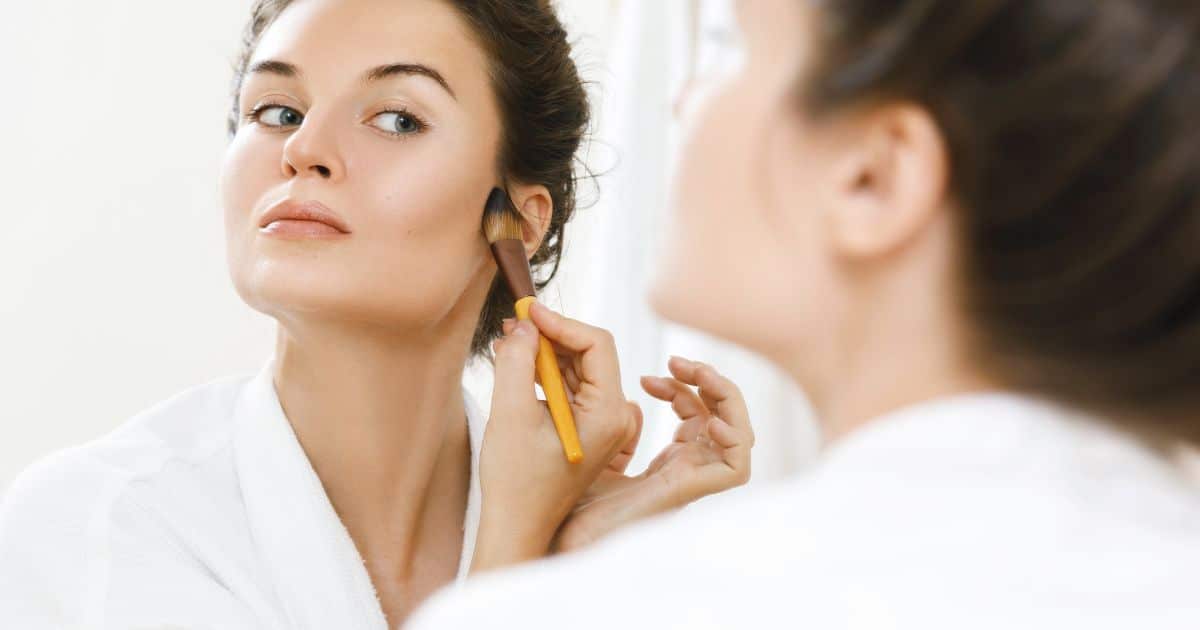
When my skin has been dermaplaned, my skincare products penetrate my skin better, and my makeup goes on like silk!
Dermaplaning may also soften fine lines and wrinkles and ease hyperpigmentation or uneven skin tone. It’s also used to treat deep acne scars.
Dermaplane Facial Benefits:
- Dermaplaning at home saves a ton of money!
- Removes Peach fuzz and Hair for face and neck
- Exfoliates the skin by removing dry skin
- Helps with Acne scars
- Brighten skin by removing dull, dry skin
- It helps skincare products to absorb better
- Makeup goes on smooth as silk!
- It helps sun-damaged skin.
- Improves Fine lines and wrinkles
The Benefits of Dermaplaning at Home:
There are so many dermaplaning benefits! Here are a few:
- Dermaplaining at home is convenient! Saves a trip to the medspa.
- Dermaplaning at home saves money. I believe Medspa’s overcharge for dermaplaning!
- When done at home, it can be done when needed and more often
- You get the same results, if not better. Just sayin.
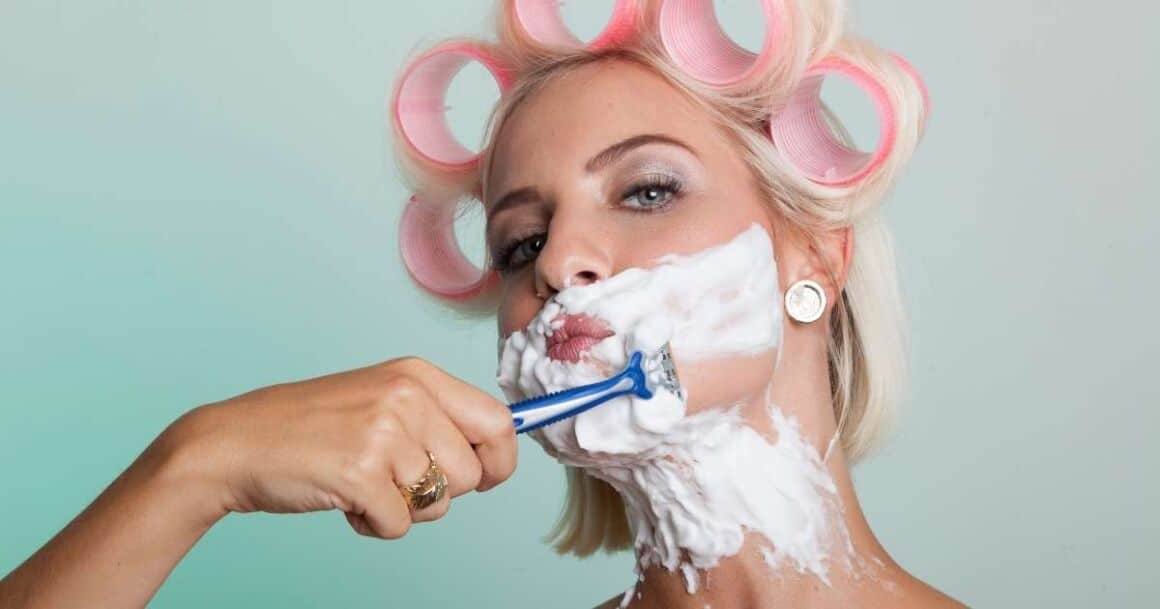
Dermaplaning vs. Shaving
Ok, now that you understand what dermaplaning is- I bet you’re wondering what the difference between dermaplaning and shaving is. I asked the same thing.
Honestly, they are not that different. But, there are some advantages to dermaplaning vs. shaving your face with a razor.
In my opinion, the advantage of dermaplaning vs. shaving is that a dermaplaning tool is much better to use on the face because the dermaplaning tools can easily reach hard-to-reach areas of the face including the forehead, jawline, and above the lip.
In addition, I feel that the dermaplaning method does a much better job of exfoliating the face than using a traditional razor.
Dermaplaning Tools
- Facial cleanser and Toner
- Dermaplane blade or Dermaplane tool
- Facial Serums
- Face Moisturizer


DIY Dermaplaning: How to Dermaplane Face at Home:
Without further ado, here is your step-by-step guide to dermaplaning your face at home.
DIY Dermaplaning Steps:
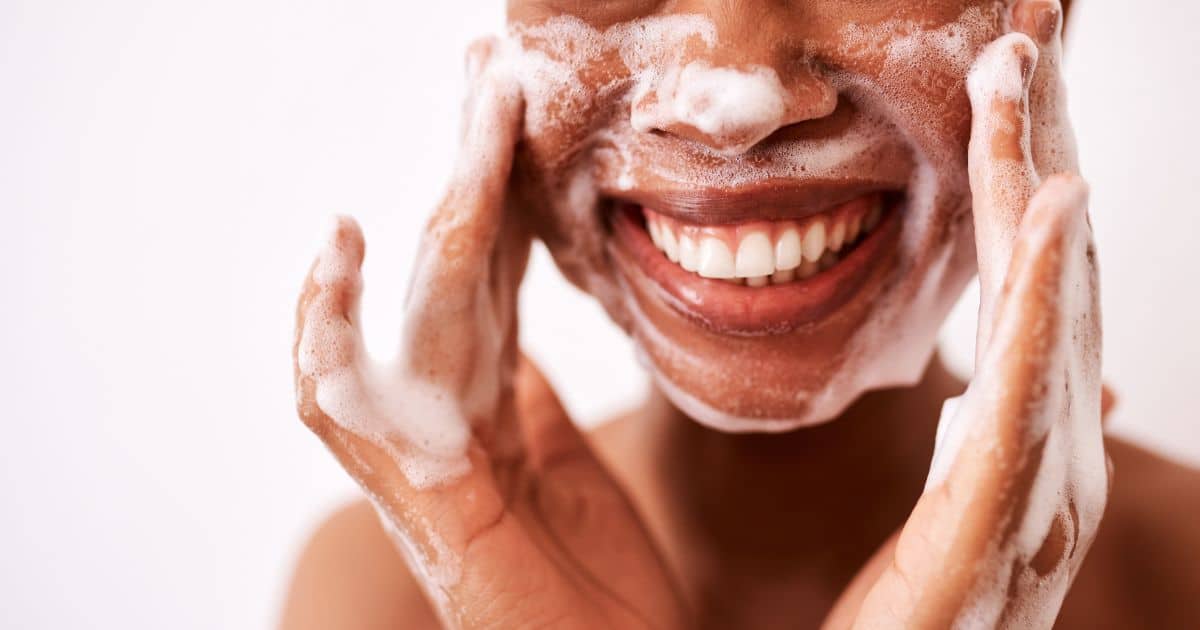
1. Start with clean, dry skin
It’s essential to start any skin care procedure with a clean slate.
Before you begin dermaplaning your skin, take the time to cleanse your skin with a good quality facial cleanser followed by a toner.
2. Work in sections
When dermaplaning your face, it’s a good idea to work in sections, so you don’t miss any spots.
I begin at the top of my face at the forehead, move to one side of my face, then the other, and end with the chin and neck area.
3. Pull Skin Taught
Gently pull your skin tight between two fingers with one hand as you dermaplane your face with the other.
Pulling the skin tight allows for a closer “shave” and a better result.
4. Use short, light strokes
As you move through each section, use short, light strokes and keep the blade at a 45-degree angle to reduce the chance of nicks.
4. Move in a downward motion
Keep the strokes in a downward motion for best results and to avoid irritation.
You’ll see dead skin cells and hair accumulate as you go.
5. Clean the Dermaplaning Blade Often
If you use a scalpel or dermaplaning blade, I suggest you gently wipe off the excess hair and skin particles on a clean towel before starting each section.
6. Rinse Face with Cool Water
Once you have completed each section of the face and have double-checked that you haven’t missed any areas, rinse your face with cool water and pat dry.
7. Apply Serums
After dermaplaning is complete, apply soothing and moisturizing serums like hyaluronic acid or nice face oil to help restore any lost moisture in the skin.
Avoid harsh serums like vitamin c and retinoids for 24 hours after dermaplaning, as they can burn and irritate your skin.
8. Moisturize
After you apply a gentle facial serum or oil, finish by applying an emollient face moisturizer.
I use Cerave’s renewing night cream after I dermaplane my face.

DIY Dermaplaning Before and After
At the time of this writing, I dermaplaned my face and forgot to take photos!
I promise, the next time I dermaplane my face (which should be in about two weeks), I will take a video along with before and after photos.
In the meantime, click here to see some amazing dermaplane before and after images.
Dermaplaning Tips and Tricks
Before you dermaplane your face at home, here are a few more dermaplaning tips and tricks to help you have a successful DIY dermaplaning experience.
- It’s essential that you start with a clean and toned face. Don’t skip this first step!
- Don’t try to dermaplane on a newly moisturized face. Dry skin is the best for dermaplaning!
- If you use a dermaplane blade or a scalpel, use a new blade EVERY TIME.
- Make sure you have a lighted mirror with magnification.
- Give yourself plenty of time, so you are not rushed.
- Remember to pull the skin taught and use short-downward strokes.
- It’s ok to go over the face twice if needed.
- When finished, blading-splash face with COLD water.
- Hydrating Serums like hydrochloric acid are good but avoid vitamin C as it will sting.
- Don’t forget to moisturize with a good-quality moisturizer.
Related: The Best: The Ordinary Products for Mature Skin

Dermaplaning Do’s and Don’ts
What to do after Dermaplaing: Dermaplaning DOs
Apply a hydrating serum or face oil
Dermaplaning can leave your skin feeling a bit dry and sensitive. Applying a hydrating serum or face oil will nourish and protect the skin.
Use a gentle cleanser.
You can gently cleanse your face after dermaplaning to remove any residue left behind.
Use Sunscreen
I recommend using broad-spectrum sunscreen every day and even more so after dermaplaning since your skin will be more sensitive to the sun’s harmful rays.
Drink plenty of water to stay hydrated
Drinking plenty of water helps to keep your skin hydrated from the inside out. This is especially important after any facial treatment because the skin will be more prone to dryness.
What to Avoid After Dermaplaning: Dermaplaing Don’ts
After dermaplaning, your skin can be slightly red and may feel sensitive. That said, there are a few things you should avoid after a dermaplane treatment.
Avoid any other treatments.
Following dermaplaning, stick to a simple skincare routine. For two weeks, avoid getting peels, botox, fillers, or laser treatments.
Avoid Makeup for 24 hours.
Try to avoid wearing makeup for at least 24 hours after dermaplaning. (I cheat on this one)
Avoid touching your face.
You should always avoid touching your face because touching your face can introduce bacteria to the skin and cause irritation.
Avoid chlorine and swimming pools.
Chlorinated water can dry out and irritate the skin. So, it’s best to avoid swimming in pools or other bodies of chlorinated water for at least 24 hours after dermaplaning.
You can shower normally after your treatment.
Don’t use harsh products.
Avoid using skincare products that can be harsh to the skin, such as Retin-A, retinoids, and facial scrubs.
.
Related article: Start a Morning Self-care Routine
DIY Dermaplaing: How to Dermaplane Face at Home
Ok! There you have it, my step-by-step guide to dermaplaning your face at home. What do you think? Are you ready to try DIY dermaplaning?
Let me know what you think about dermaplaning, and please share any experiences you’ve had with dermaplaning at home in the comments below.
As always, thanks so much for visiting.
Until next time,
XO, Christine

I’ve been keeping it real since 1963. 🙂
I’m a child of God, a wifey, mama, grandma, full-time creative, domestic engineer, and self-care enthusiast.
I am obsessed with all things makeup and skincare and love getting my hands dirty out in the garden, my art room, or in the kitchen, whipping up something yummy for the fam.
I’m always down to chat and love collaborating with other creatives and brands alike!
Feel free to reach out anytime!


I’ve always been afraid to do this myself. I always have had to get my lip waxed and afraid if I dermaplane it will grow back thicker. But thankfully my “Stache” is thinning. Lol so is the hair on my legs. One perk of getting old. Lol