How to Start a Lifestyle Blog Using WordPress: The 2026 Guide
So, you want to learn how to start a lifestyle blog using WordPress? You’ve come to the right place!
I know from experience that embarking on a blogging journey can be both exhilarating and a little overwhelming. In 2026, the digital world looks a bit different than it did a few years ago.
We have AI, new ways to share video, and faster technology—but the heart of blogging remains the same: sharing your story and connecting with others.
Whether you want to share your faith walk, your gardening wins, or your favorite midlife beauty finds, this guide is your roadmap to launching a professional, beautiful blog from scratch.
Are you ready to turn your passion into a platform? Let’s go!
This post may contain affiliate links. Click to visit policies and disclosures
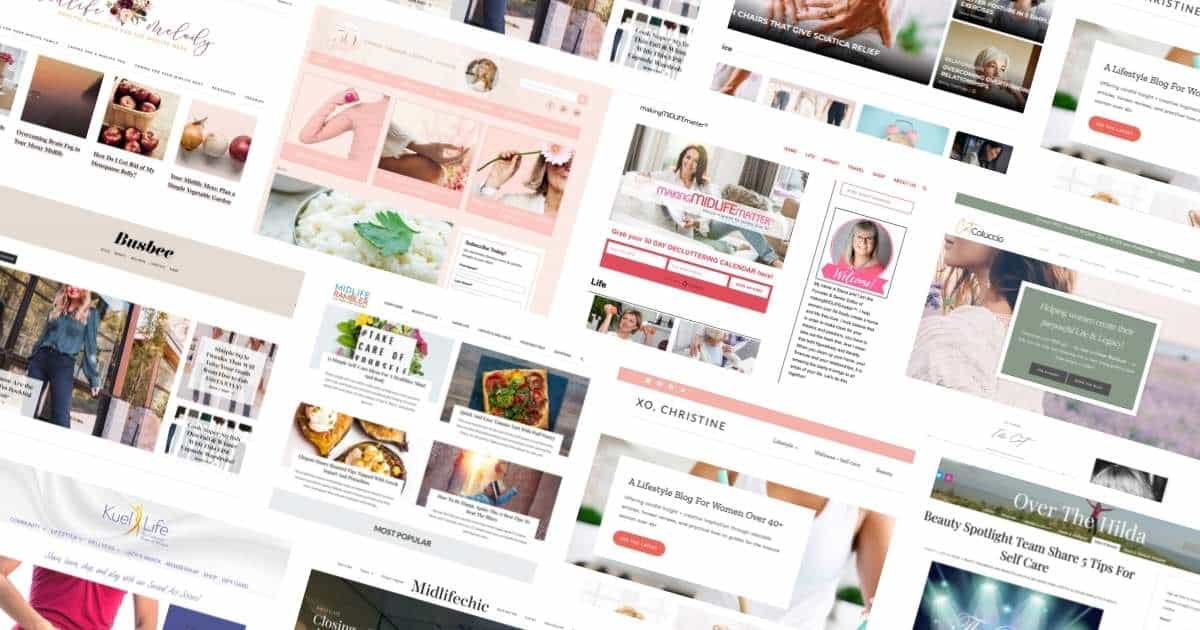
What is a Lifestyle Blog in 2026?
A lifestyle blog is a digital space where the author’s personal life, curated interests, and real-world experiences serve as the main attraction.
Unlike a “niche” blog that might cover only one technical subject, a lifestyle blog is built around a personal brand. It’s the difference between a textbook and a conversation with a wise, stylish friend.
In 2026, lifestyle blogging has evolved beyond just “pretty pictures.” Today, it is about authority and connection. Readers visit lifestyle blogs to see how a real person—with real values and a real budget—navigates the world.
Typical Lifestyle Blog Content
A lifestyle blog is beautifully fluid. It reflects the “fullness” of life, meaning you aren’t boxed into just one topic.
You might share a recipe for a healthy dinner on Monday, a review of a new pro-aging night cream on Wednesday, and a heartfelt post about your faith walk on Friday. The “glue” that holds it all together is your voice.
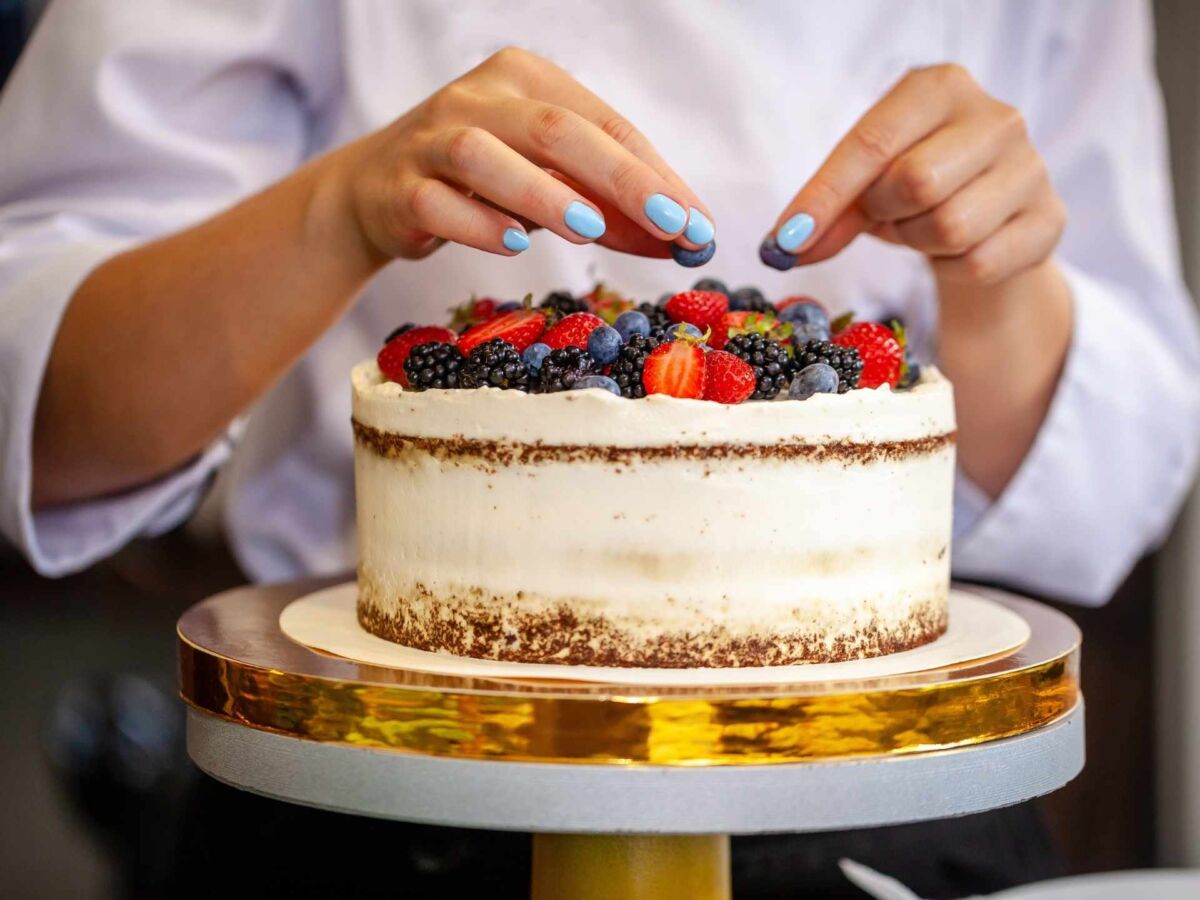
Trending Lifestyle Blog Categories for 2026
While you can write about anything, these are the categories that readers are most excited about right now:
- Beauty & Pro-Aging: Beyond just tutorials, this is about skincare for changing skin, makeup that enhances rather than hides, and the best products for silver hair or thinning brows.
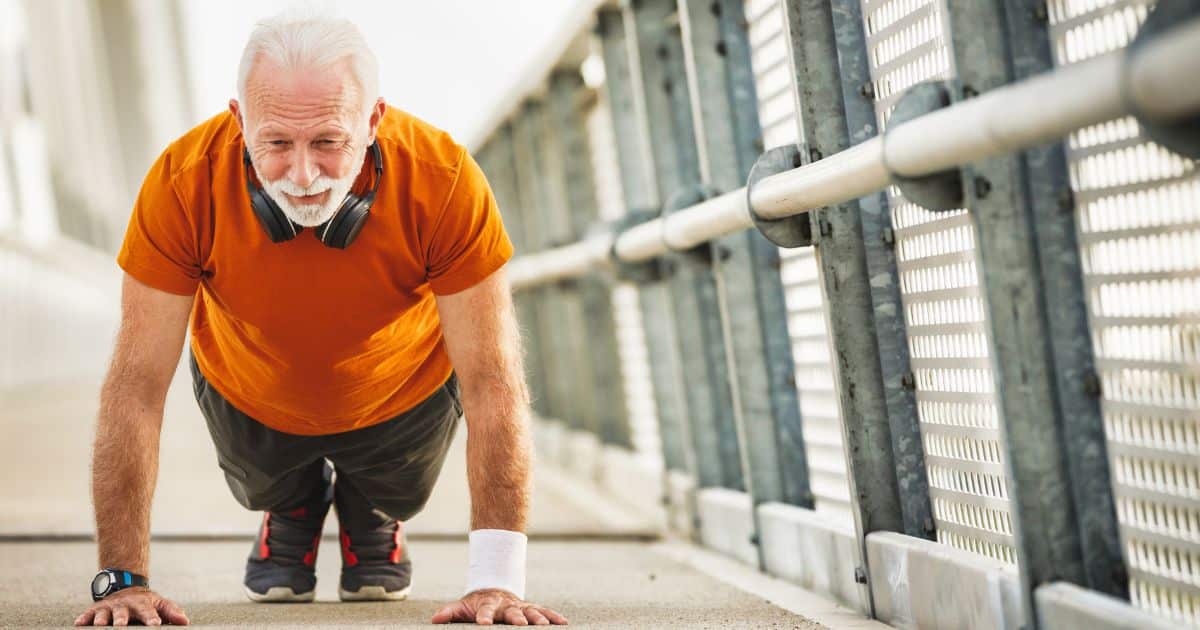
- Wellness & Mental Health: Daily habits for stress management, the benefits of dry brushing, and navigating life transitions like the empty nest or menopause with grace.
- Home & Garden: Small-scale gardening (like container herbs!), home “refreshes” on a budget, and creating a peaceful, organized sanctuary at home.
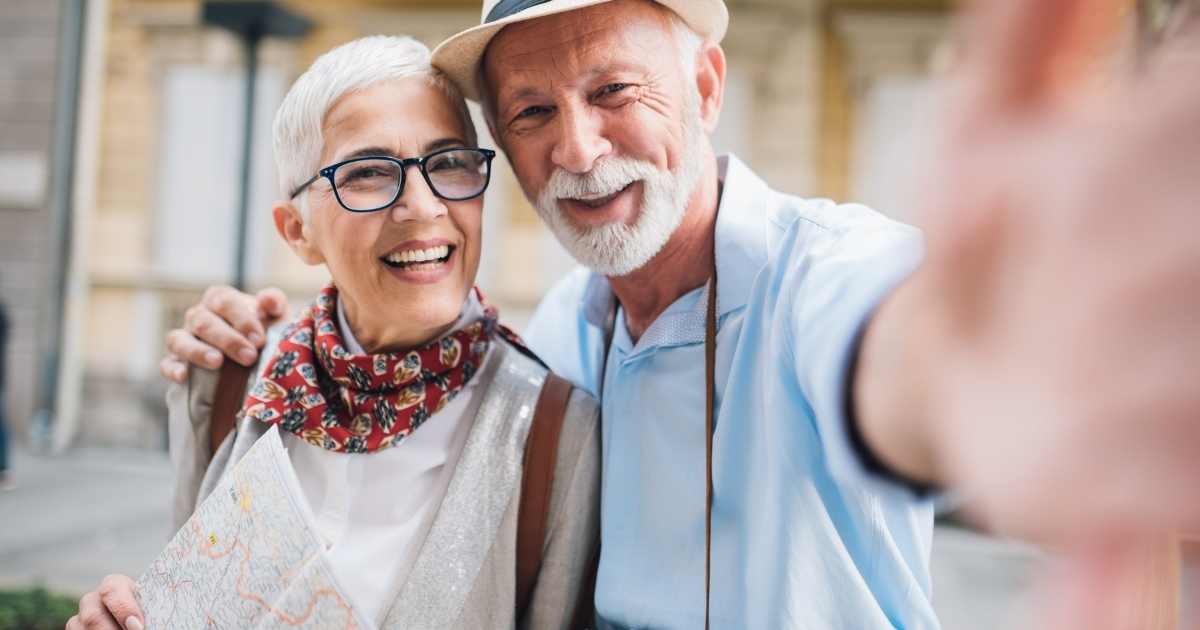
- Travel for the Soul: Destination guides for women over 40, “slow travel” tips, solo adventure safety, and packing essentials that prioritize comfort and style.
- Faith & Personal Growth: Devotionals, journaling prompts, and finding purpose in your “second act” or midlife journey.
- Culinary Adventures: Easy, anti-inflammatory recipes, hosting tips for family gatherings, and “cooking for two” ideas.
- Sustainable Living: Minimalism, eco-friendly home swaps, and choosing high-quality “investment” pieces over fast fashion.
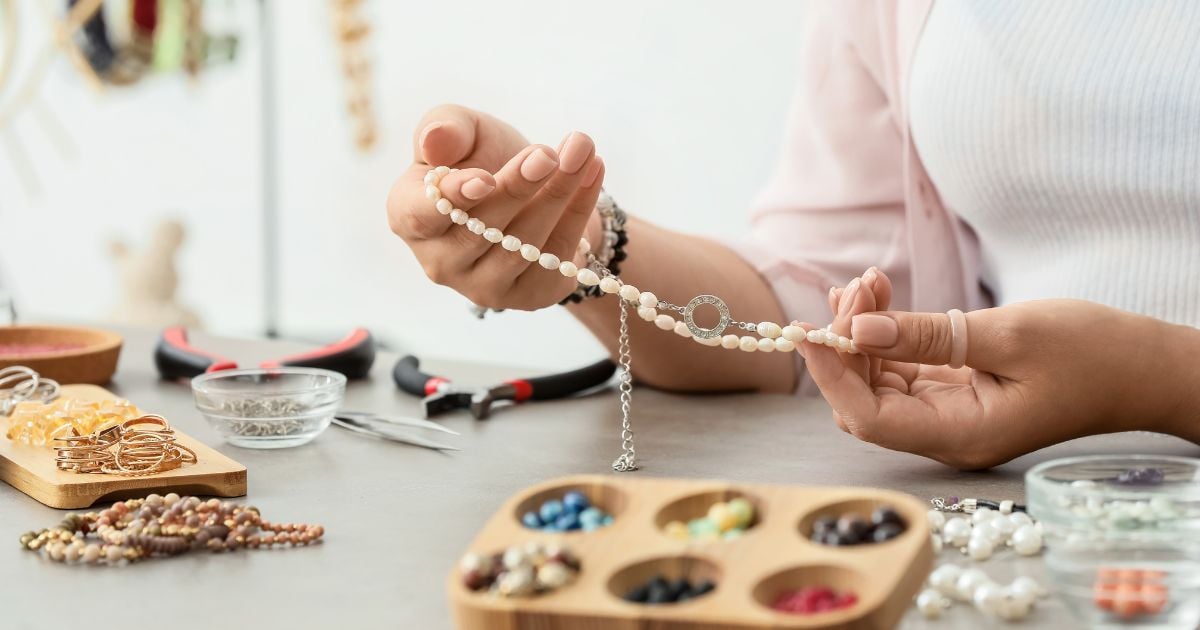
- Creative Hobbies: Rediscovering arts and crafts, from watercolor painting to DIY home decor, as a form of self-care.
- The “Digital Side-Hustle”: Sharing the behind-the-scenes of how you built your blog to inspire other women to start their own creative businesses.

How to Start a Lifestyle Blog Using WordPress
1. Choose a Lifestyle Blog Niche
A blog niche is simply the main topic your blog is built around. Choosing one helps you attract the right readers, establish yourself as a go-to resource, and make monetization much easier down the road.
The best niche is one you are genuinely passionate about, because you will be writing about it a lot! Think about your hobbies, your expertise, and the problems you can help people solve.
Popular lifestyle blog niches:
- Midlife wellness and beauty
- Parenting and family
- Home organization and decor
- Faith and personal growth
- Plant-based living
- Travel for women over 40
- DIY and creative hobbies
- Pet-centric living
My advice? Do not overthink it. Pick something you love and would happily talk about for hours. The rest will follow.
2. Choose a Name for Your Blog + Tips for Naming Your Blog
Your blog name is your first impression, so make it count. It should feel like you, be easy to remember, and give readers a sense of what they are in for.
Tips for naming your lifestyle blog:
- Brainstorm with friends or use a blog name generator
- Consider using your name or a variation of it (like I did!)
- Keep it short and easy to spell
- Check that the name is available as a domain and on social media before you fall in love with it
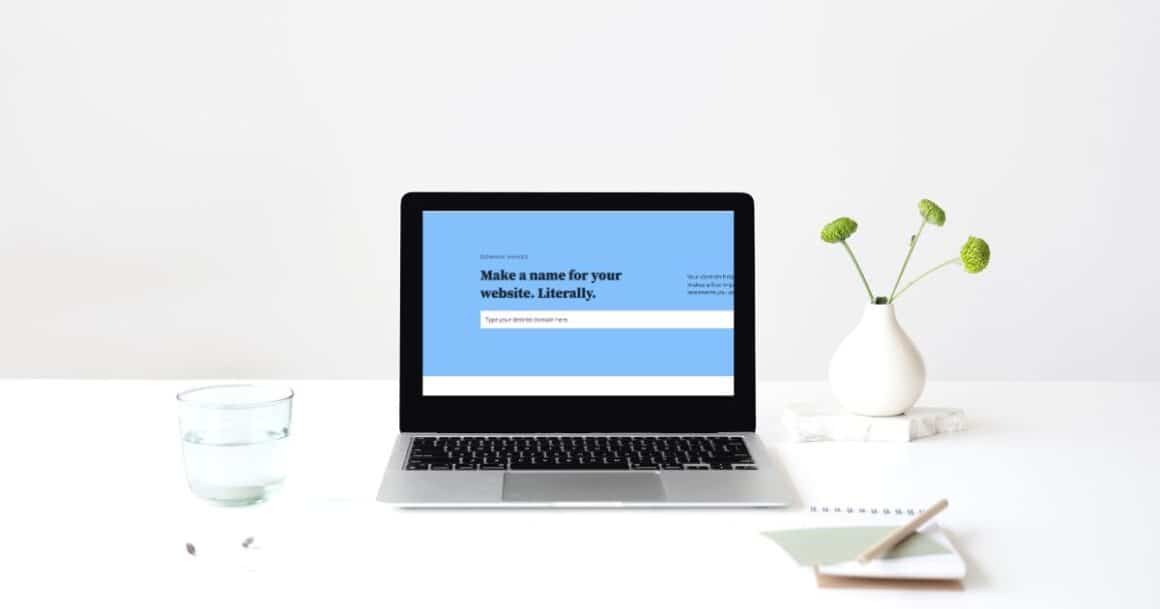
Your domain is your address on the internet, for example, xochristine.com. Once you have a name you love, register it quickly because good ones go fast.
Tips for choosing your domain:
- Keep it short, simple, and easy to spell
- Stick with .com if possible
- Avoid numbers, hyphens, and anything confusing when spoken out loud
- Make sure it is not trademarked or already in use
Best places to purchase a domain:
4. Set up Web Hosting for Your Lifestyle Blog
Think of hosting as the garage where your blog lives. Without it, your site has nowhere to exist on the internet.
For new bloggers, two hosting types work best:
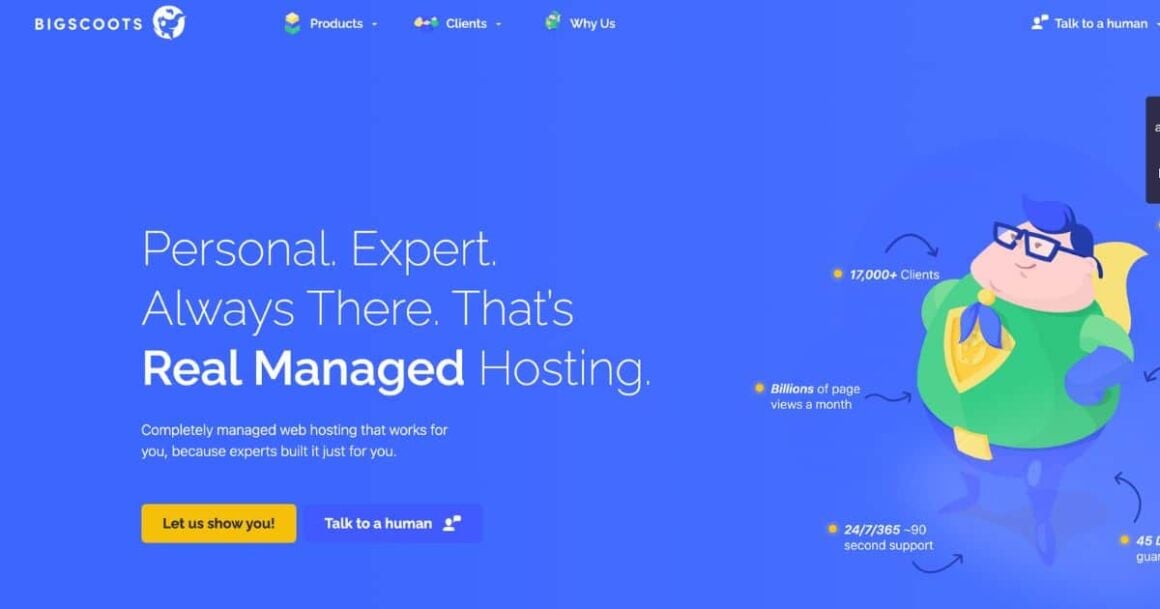
Shared Hosting is the most budget-friendly option. Multiple sites share one server, which keeps costs low. It is a great starting point, and I recommend it until your traffic grows enough to justify an upgrade.
Managed WordPress Hosting handles all the technical stuff for you, including security, backups, and updates. It costs more, but it is worth every penny once your blog starts gaining traction. I made the switch after about six months.
My recommended hosting providers:
- BigScoots (my top choice, outstanding support and performance)
- Bluehost (great for beginners, officially recommended by WordPress)
- SiteGround (excellent customer service)
- WP Engine (premium managed WordPress hosting)
- Kinsta (powered by Google Cloud, fast and secure)
5. Install WordPress and Configure Settings
Most hosting providers make this step surprisingly easy with a one-click WordPress install. Look for it in your hosting control panel, follow the prompts, and you will be up and running in minutes.
Once WordPress is installed, head to yourdomain.com/wp-admin and configure these essential settings:
- Permalinks (
Settings > Permalinks): Choose “Post name” for clean, SEO-friendly URLs - Timezone and Date (
Settings > General): Set these to match your location - Reading Settings (
Settings > Reading): Choose whether your homepage shows your latest posts or a static page - Discussion Settings (
Settings > Discussion): Set your comment preferences to reduce spam - Search Engine Visibility (
Settings > Reading): Make sure “Discourage search engines” is unchecked - User Profile (
Users > Your Profile): Add your name and a short bio
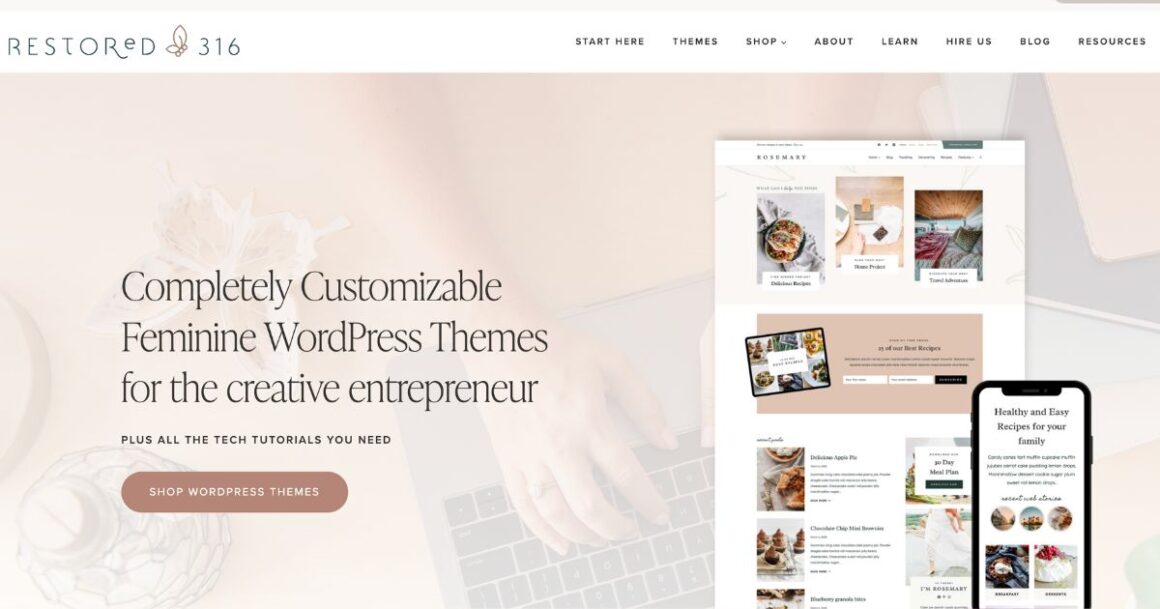
This is the theme I use for this Blog. The Create Theme by Restored 316
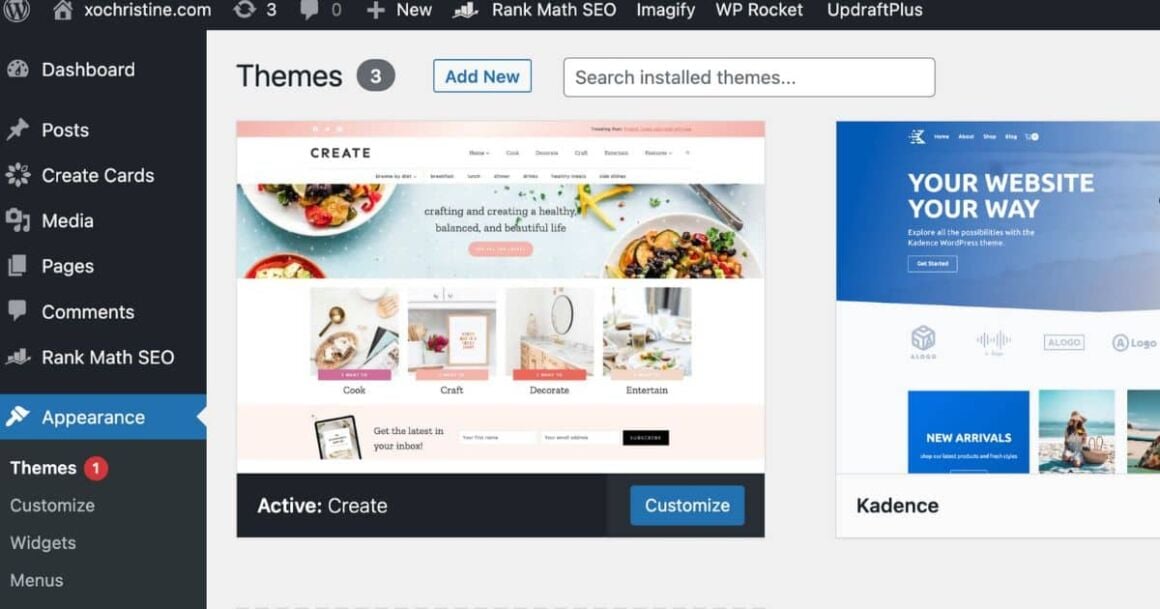
6. Choose a WordPress Theme
Your theme controls how your blog looks, including layout, fonts, and colors. Think of it as the design and decor of your blog’s home.
Free themes are a solid starting point if you are on a tight budget, but they tend to be limited in features and customization.
Premium themes offer more design options, regular updates, and dedicated support. In my experience, investing in a premium theme early saves a lot of frustration later.
My top premium theme picks:
- Kadence (what I use, lightweight, fast, and endlessly customizable)
- Astra (beginner-friendly with beautiful starter templates)
- GeneratePress (performance-focused and super clean)
- Blocksy (gorgeous with the Gutenberg editor)
My personal recommendation: I use Kadence paired with a theme design from Restored 316. Restored 316 creates beautiful, feminine WordPress themes built on the Kadence framework, and I use their designs across all three of my blogs. The Restored 316 Facebook community is also an incredible bonus resource.
7. Install and Customize Your WordPress Theme
Once you purchase your theme, follow the installation instructions included. There is a small learning curve, but take it one step at a time. You’ve got this!
If your theme includes demo content, install it. It gives you a ready-made framework to customize rather than starting from a blank screen, and it makes a world of difference.
8. Install Essential WordPress Plugins
Plugins add functionality to your blog without requiring any coding knowledge. Here are the ones I use and trust:
- UpdraftPlus — automatic backups (non-negotiable!)
- Wordfence Security — firewall and malware protection
- Grow by Mediavine — best-in-class social sharing
- WP Rocket — site speed and caching (a true game-changer)
- Imagify — image compression to keep your site fast
- Rank Math — SEO optimization (I switched from Yoast and never looked back)
- Antispam Bee — lightweight spam comment blocker
- ConvertKit — email list integration
- Kadence Blocks — enhanced block editor options
- Regenerate Thumbnails Advanced — media management tool
To install: go to Plugins > Add New in your WordPress dashboard, search by name, and click Install, then Activate.
9. Add Essential Pages
Before you publish your first post, make sure these pages are in place:
- Home Page — your blog’s welcome mat
- About Page — your story and why you started the blog
- Contact Page — a form or email address for readers and brands to reach you
- Blog/Posts Page — where all your articles live
- Privacy Policy and Disclosures — legally required if you use affiliate links or collect email addresses
- Shop or Work With Me (optional, but worth adding early)
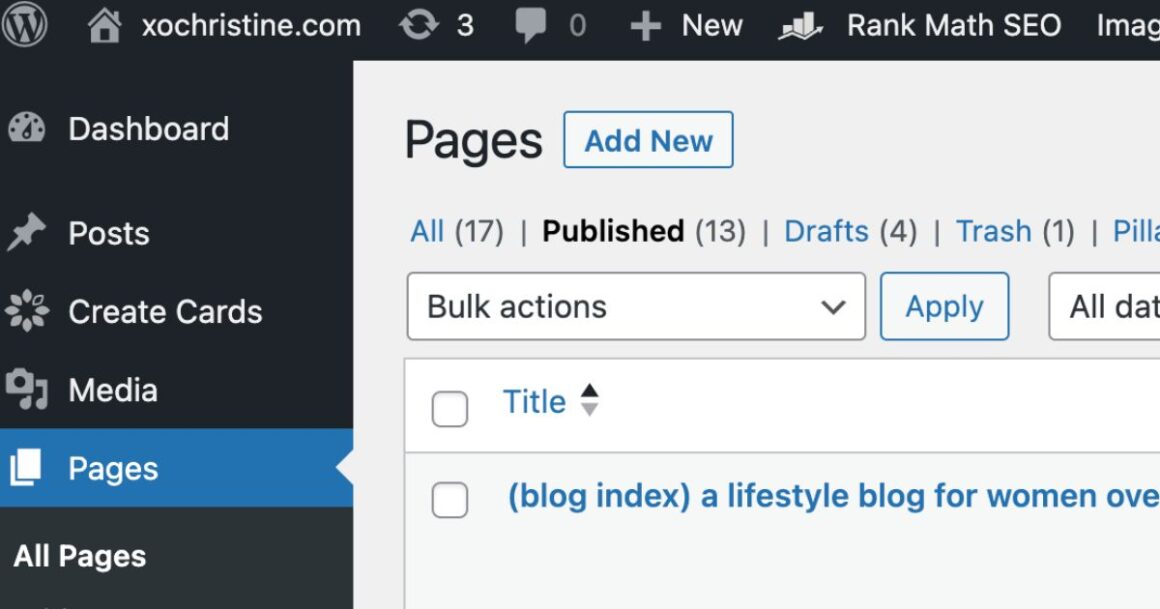
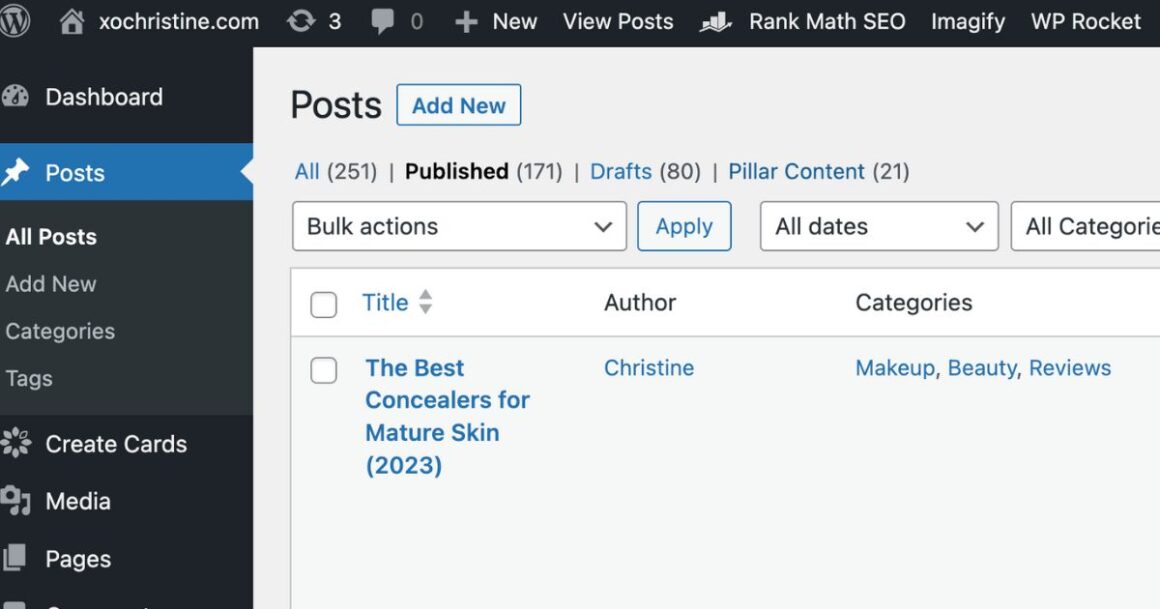
10. Set Up Your Blog Categories
Categories organize your content and help both readers and search engines understand what your blog is about. Aim for 5 to 10 broad categories to start, and resist the urge to create one for every topic.
To add categories in WordPress: Go to Posts > Categories, enter a name and slug, add an optional description, and click “Add New Category.”11. Set Up Social Media and Analytics
Before you hit publish, grab your blog name on every social media platform, even ones you are not planning to use right away. You want consistent branding across the board.
Then set up Google Analytics so you can track your traffic from day one. It feels a little technical at first, but this step-by-step guide walks you through it clearly.
11. Set Up Social Media and Analytics
Before you hit publish, grab your blog name on every social media platform, even ones you are not planning to use right away. You want consistent branding across the board.
Then set up Google Analytics so you can track your traffic from day one. It feels a little technical at first, but this step-by-step guide walks you through it clearly.
12. Write and Publish Your First Blog Post!
This is the moment you have been working toward, and I want you to feel confident walking into it!
Writing your first blog post can feel intimidating, but here is the truth: it does not have to be perfect. It just has to be published. You can always go back and improve it later, and you will. Every experienced blogger has a first post they cringe at now, and that is a good thing. It means you grew.
Here is how to approach it:
- Pick a topic you already know well. Your first post is not the time to research something new. Write about something you could talk about over coffee without thinking twice. It will feel more natural, and your personality will shine through.
- Write for one specific person. Picture your ideal reader and write directly to her. Not to “women over 40 everywhere,” but to one real woman sitting across from you who needs exactly what you have to share. That mindset shift changes everything.
Keep your structure simple:
- An intro that hooks the reader and tells her what she is about to learn
- A clear body with subheadings to break up the content
- A conclusion that wraps it up and invites her to take action or leave a comment
Do not skip the basics:
- Add a focus keyword using Rank Math before you publish
- Write a meta description (a short 1 to 2 sentence summary that shows up in Google)
- Add at least one image with alt text
- Link to one or two other pages or posts on your site if you have them
Set a “good enough” standard and hit publish. Perfectionism is the enemy of progress, and I say that as a recovering perfectionist myself! A published post that is 80% perfect is infinitely more valuable than a flawless post sitting in your drafts folder.
Once it is live, share it everywhere: your personal Facebook page, your Instagram stories, your Pinterest account, and anywhere else your people hang out.
Do not be shy. You made something, and the world deserves to see it!
Related article: 100 Lifestyle Blog Post Ideas!
Resources for Starting a Lifestyle Blog Using WordPress
Domain & Hosting
- BigScoots — my top hosting recommendation
- Bluehost — great for beginners
- Namecheap — affordable domain registration
- Google Domains — simple and reliable
WordPress Themes
- Restored 316 — beautiful feminine themes (what I use!)
- Kadence — the framework behind my blog
- Astra — beginner-friendly with gorgeous templates
Essential Plugins
- WP Rocket — site speed optimization
- Rank Math — SEO made simple
- UpdraftPlus — automatic backups
Learning & Blog Growth
- Smart Blogger — how to write a great blog post
- WPBeginner — WordPress tutorials for non-techies
- Grammarly — catch errors before you publish
Monetization
- Amazon Associates — start here for affiliate income
- LTK — perfect for lifestyle and fashion bloggers
- Mediavine — display ads once you hit 50k sessions
Content Ideas
- 100 Lifestyle Blog Post Ideas — right here on the blog!
FAQs: How to Start a Lifestyle Blog Using WordPress
What exactly is a lifestyle blog, and is it different from a niche blog?
A lifestyle blog is built around the blogger’s personal voice, values, and everyday life rather than a single narrow topic.
Where a niche blog might cover only, say, keto recipes or personal finance, a lifestyle blog gives you the freedom to write about everything from home organization and beauty and skincare to faith, wellness and self-care, and family, all held together by your unique perspective.
In 2026, the most successful lifestyle blogs have a clear focus audience, even if the topics are varied. Mine, for example, is written for women over 40 navigating midlife with intention and joy. I think that clarity is what turns casual readers into loyal ones.
How much does it cost to start a lifestyle blog in 2026?
Starting a self-hosted WordPress blog is more affordable than most people expect. Here is a rough breakdown for year one:
- Domain name: $10 to $20 per year
- Shared hosting (like Bluehost): $3 to $10 per month
- WordPress theme (premium): $50 to $150 one-time
- Essential plugins: Most are free; WP Rocket runs about $60 per year
You can realistically launch a professional, beautiful blog for under $200 your first year. As your traffic and income grow, you can upgrade to managed WordPress hosting like BigScoots for better speed and performance.
Do I need technical skills to start a WordPress blog?
Not at all! WordPress is designed for everyday people, not developers. Between one-click hosting installs, drag-and-drop themes, and plugins that handle the heavy lifting, you can build a fully functional blog without writing a single line of code.
The learning curve is real but very manageable. Take it one step at a time, lean on your hosting provider’s support team, and join communities like the Restored 316 Facebook group where bloggers help each other every day.
How do I choose the right niche for my lifestyle blog?
The best lifestyle blog niche sits at the intersection of what you love, what you know, and what your ideal reader is actively searching for. Start by asking yourself: what do my friends text me about? What could I write about every week without running out of ideas?
For women in midlife, especially, there is a huge, underserved audience hungry for content on pro-aging beauty, wellness, stress management, faith, empty nesting, and intentional living.
What is the difference between WordPress.com and WordPress.org?
This trips up so many beginners! WordPress.com is a hosted platform where WordPress manages everything for you, but it limits your ability to customize your site, run ads, or use certain plugins. WordPress.org is the self-hosted version, meaning you own your site completely and have full control.
For a serious lifestyle blog, you always want to go with WordPress.org paired with your own hosting provider. It is the industry standard for a reason, and everything in this guide is built around that setup.
How do I choose a domain name for my lifestyle blog?
Keep it short, easy to spell, and easy to say out loud. Your domain is your brand, so choose something you will still love in five years. Using your own name (like I did with xochristine.com) is always a safe bet because your name never goes out of style.
Before you commit, check that the same name is available across Instagram, Pinterest, and Facebook. Consistent branding across your blog and social media makes you look polished and professional from day one.
How long does it take to start making money from a lifestyle blog?
Honest answer: most bloggers begin seeing meaningful income between 6 and 18 months in, but it depends heavily on how consistently you publish and whether you are applying good SEO from the start.
The fastest path to early income is affiliate marketing. Sign up for Amazon Associates and LTK right away, even before you have significant traffic. Weave affiliate links naturally into helpful, honest content and let them work in the background while you focus on growing.
Display ads through networks like Mediavine become available once you hit 50,000 sessions per month.
How often should I post on my lifestyle blog?
Quality beats quantity every single time, but consistency matters. For a new blog, aim for one to two well-written, SEO-optimized posts per week. Showing up regularly builds reader trust and signals to Google that your site is active and worth ranking.
Need ideas to fill your content calendar? My article 100 Lifestyle Blog Post Ideas will give you enough inspiration to plan months ahead.
Can I start a lifestyle blog if I am over 40, 50, or 60?
Absolutely, and I would argue it is actually an advantage. Readers crave real experience, hard-won wisdom, and an authentic voice, and women in midlife have all three in abundance. Your lived experience is your greatest credential.
I started leaning fully into blogging for women over 40 in my early 60s, drawing on both my professional and personal life experience. Your story matters, and there is a reader out there right now searching for exactly what you have to share. Do not wait for the “right time.” Start now.
Conclusion: How to Start a Lifestyle Blog Using WordPress
If you’ve read all the way to the end of this guide, I want to say that you’re already doing really well. Many people dream of starting a blog but never actually take the first step.
Starting a lifestyle blog on WordPress is one of the best decisions I ever made. It has given me a creative outlet, a community of women I genuinely love, and an income stream that continues to grow.
But more than any of that, it has given me a place to show up authentically and share what I know in a way that actually helps people. That is the part that never gets old.
Here is what I want you to remember as you take those first steps:
You do not need to have it all figured out before you start. The bloggers you admire most did not launch with a perfect site and a flawless strategy. They started messy, learned as they went, and kept going. You can do the same.
Your voice is your superpower. There are thousands of blogs on the internet, but there is only one you. Your experiences, your perspective, and your personality are the things that will set your blog apart and keep readers coming back. Do not water yourself down trying to sound like everyone else.
Play the long game. Blogging is not a get-rich-quick venture, but it is a beautifully sustainable one. Focus on creating genuinely helpful content, learn the basics of SEO, show up consistently, and trust the process. The results will come.
Whether you are dreaming of sharing your midlife wellness journey, your passion for home and garden, your pro-aging beauty discoveries, or your faith walk, the world needs your story. And there is a reader out there right now who is waiting for exactly what you have to offer.
Now close this tab, open a new one, and go buy that domain. Your blogging adventure starts today!
I am cheering you on every step of the way. And if you ever have questions or just need a little encouragement, my contact page is always open. I would love to hear from you.
Happy Blogging!
XO, Christine
I’ve been keeping it real since 1963. 😊
I’m a child of God, devoted wife, proud mama and grandma, full-time creative, domestic engineer, and passionate self-care enthusiast.
I’m purpose-driven and do my best to live each day with intention—whether shopping for treasures, painting in my art studio, digging in the garden, or cooking up something yummy for my family.
I’m always up for a good chat and love collaborating with fellow creatives and brands.
Let’s connect—don’t be shy!